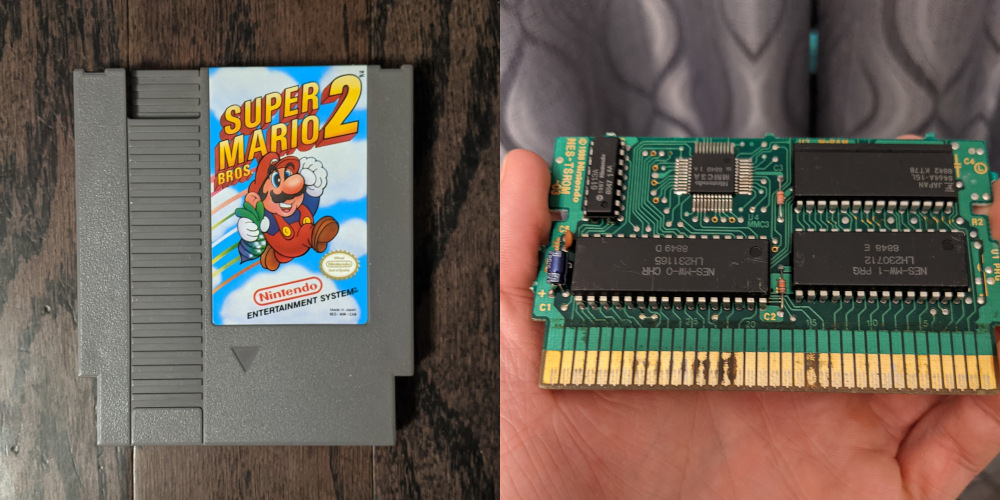
Any one who has ever played an NES game is no doubt aware of the infamous flakiness of the NES. Even when I was young and the NES was still relatively new, games would often fail to start, forcing the players to resort to all manner of arcane magic to get it to work. Blowing in the cartridge was always popular, and sometimes just mashing the reset button seemed to work. 20 years later it seems like a miracle any of these machines are still working! However, with a few simple maintenance tricks, you can easily keep your NES playing your favourite games.
To understand how to keep your NES running, you first need to understand why the games are failing to boot in the first place. The most common reason NES games fail to boot is because the pins in NES cartridge slot fail to make a complete connection with the contacts on the cartridge. This is often the result of:
- Dirty or corroded contacts on the cartridge.
- Pins on the 72 pin connector in the cartridge slot being bent out of place.
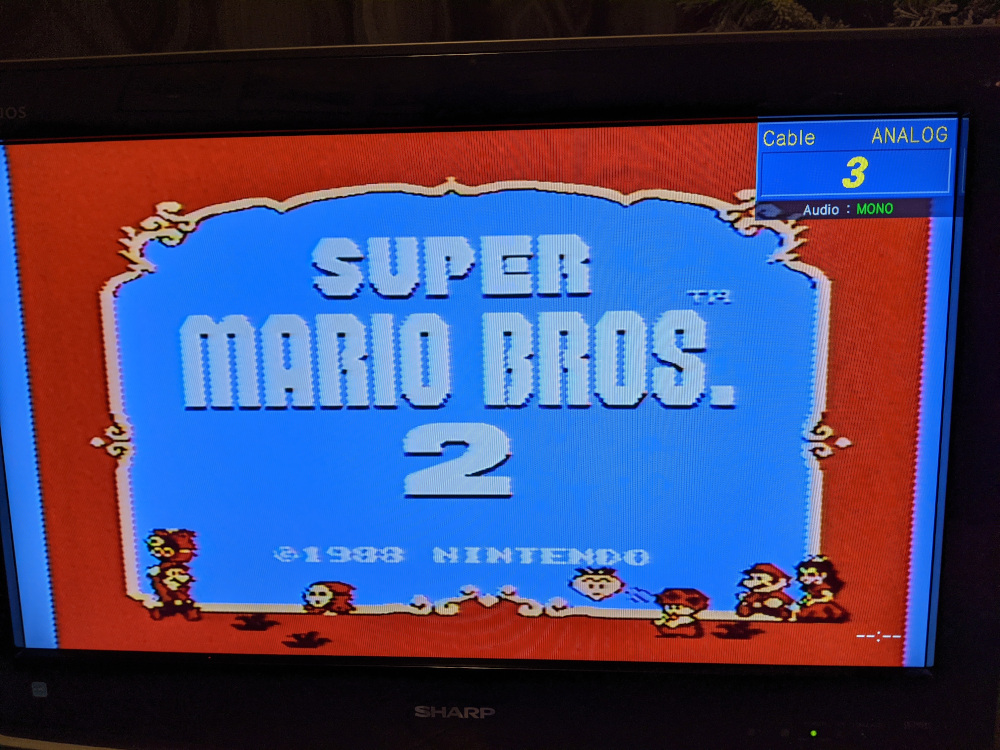
In this article, we are going to focus on how to solve this first issue, dirty contacts! And I have a particularly dirty copy of Super Mario Bros. 2 to demonstrate.
Getting the Cartridge Open
The contacts on an NES game's PCB are a brass-coated nickel. Over time, and especially in the presence moisture, the brass coating will corrode, developing a bluish gunk over the contacts. This corrosion is not conductive and as a result, the NES won't be able to make a good connection with the cartridge. Luckily, cleaning this corrosion is cheap and fairly straight forward.
In order to properly clean the contacts on the cartridge, its helpful to be able to open the cartridge and remove the PCB. How this is done depends on the specific cartridge on hand. Early NES games were shipped in 5 screw cartridges, which were sealed with 1 screw in each corner and the center. These cartridges used small standard head screws and require precision screwdriver to open.
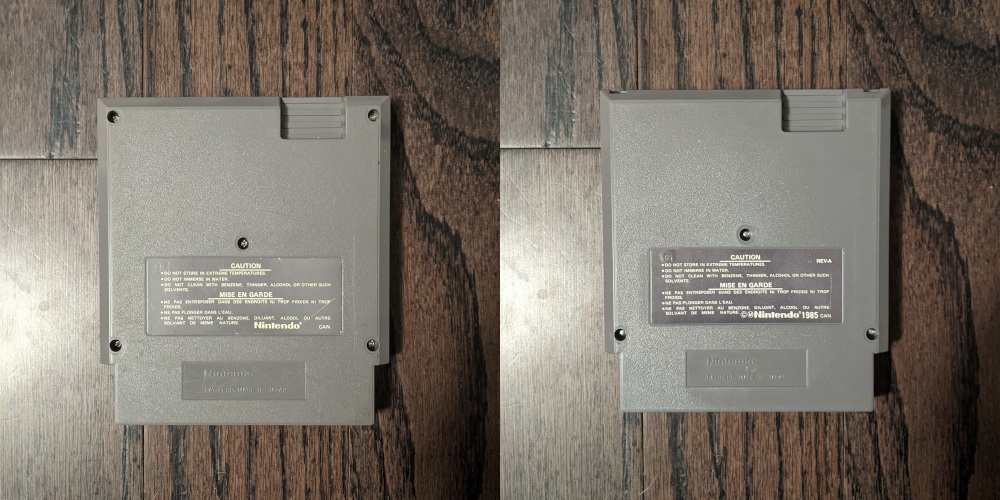
Later games were shipped in 3-screw cartridges which were sealed with 1 screw in each bottom corner, 1 screw in the center, and plastic clips on the top. These cartridges often use Gamebit head screws, and you will need a Gamebit screwdriver to open them. Cartridges for a host of other systems, including Game Boy, SNES and Sega Genesis were all sealed with the same Gamebit screws used in NES cartridges, so if you are into retro gaming, it's probably worthwhile to own one of these screwdrivers.
Cleaning the Contacts
Once you have your cartridge open, in order to remove the corrosion, you will need:
- A clean cloth.
- A handful of Q-Tips.
- A metal cleaner like Brasso. You should be able to find a small bottle of Brasso at your local hardware store or on Amazon.
- (Optional) A bottle of 91% isopropyl alcohol.
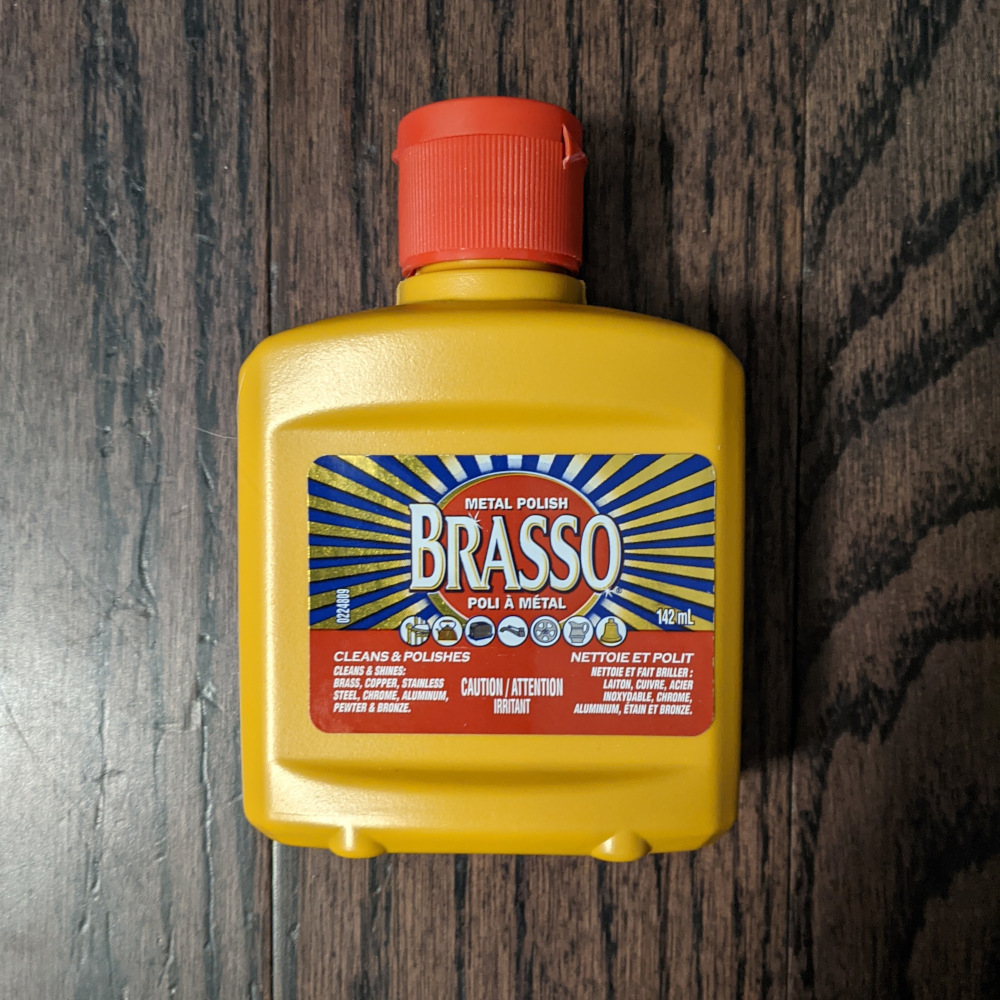
Take your Q-Tip and dip is slightly into in the Brasso (you don't need very much, as a little goes a long way). Then proceed to scrub the contacts on the PCB with the Q-Tip along their length until the blueish corrosion starts to lift of. When the Q-Tip gets too dirty, switch to the other side or start using a new one. Continue scrubbing the contacts until all of the corrosion is gone. Make sure to clean both sides.
Now, take your cloth and rub down the contacts in order to remove any residue left over by the Brasso. Be thorough here as you don't want to leave any residue on the contact that might affect the connection. Optionally, if you have the isopropyl alcohol, you can dip another Q-Tip in the alcohol and give the contacts a final scrub down to ensure that everything is clean.
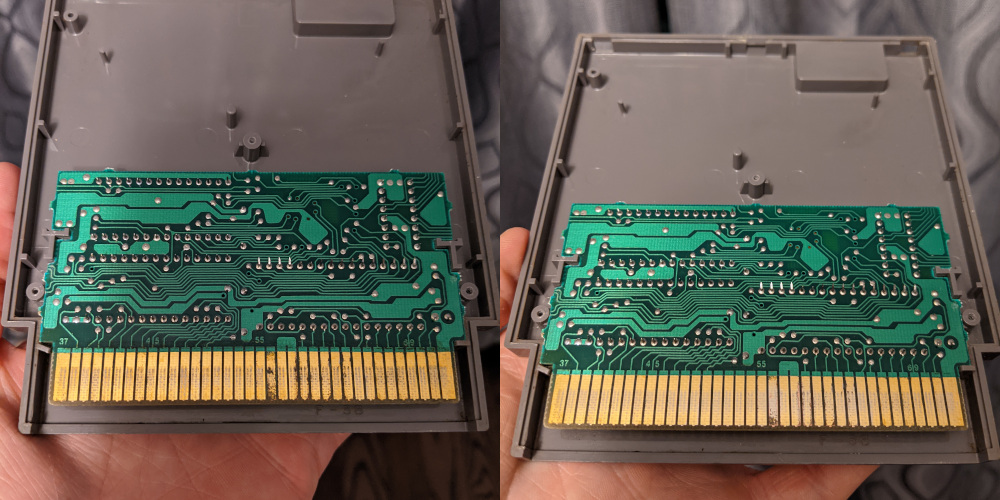
After the contacts are nice and clean, reseat the PCB in the cartridge and reseal it. Give everything a minute or so to dry, and pop it in your NES. After a few tries you should be able to get the game started.
Conclusion
Corroded contacts is the most common reason an NES game fails to start, and luckily it is the easiest to fix. If you simply follow the steps outlined up above, you should be up and gaming in now time flat.
If you can't get the game to start however, there might be an issue with the 72 pin connector in your NES. Next week in part 2, we will discuss how to handle fix the 72 pin connector in the NES.

